
")

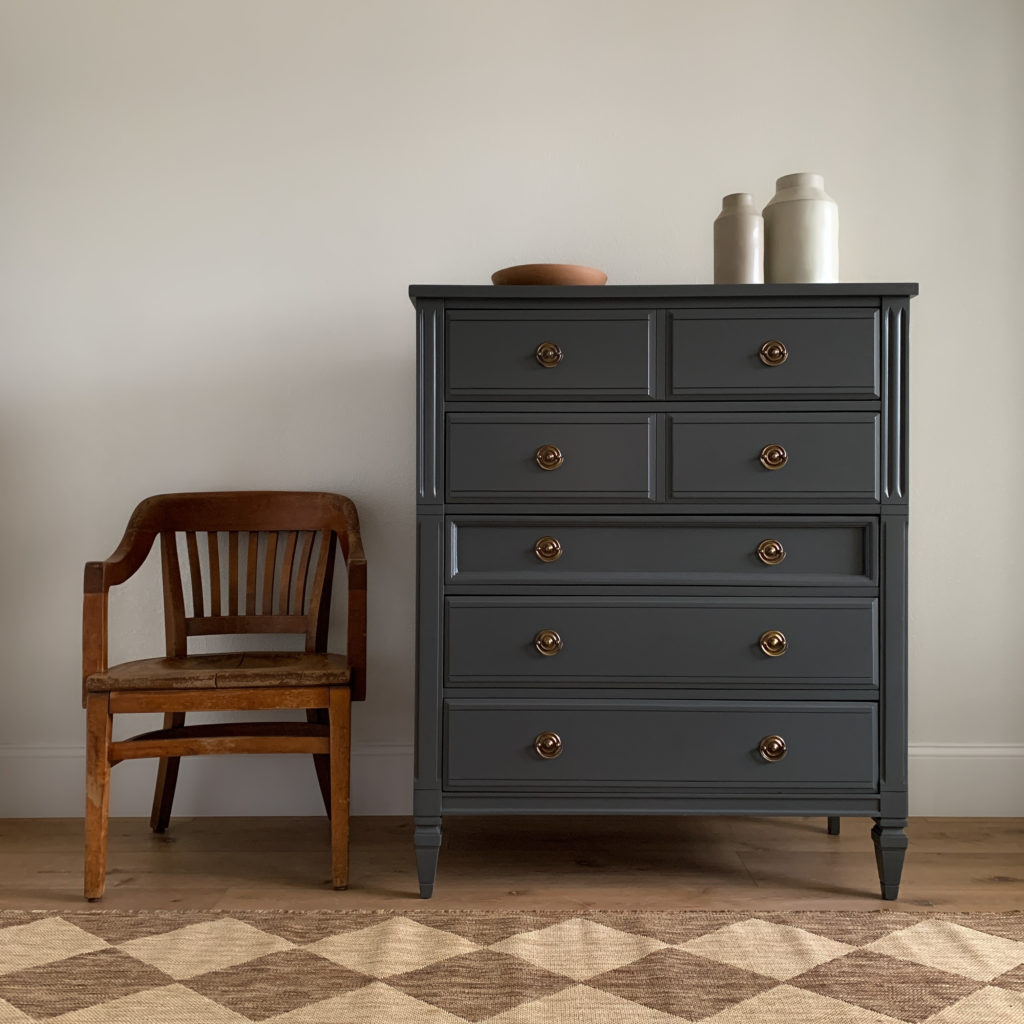
When painting furniture, it is important to go through a multi-step process with proper preparation, shellac, primer, and quality paint for long-lasting durability.
Before applying any type of paint to furniture, there are prior steps that need to take place to ensure top-quality results.
Overview
- Remove the hardware
- Clean inside and out
- Repair and sand
- Tape the drawers
- Shellac and prime
- Detail imperfections
- Paint
- Topcoat (depending on the paint)
- Add hardware
- Condition the inside
Step 1: Remove Hardware
Before removing the hardware from your furniture, consider if the knobs or pulls complement the overall new design you want to achieve. Sometimes the original hardware is classic and already a perfect accessory that only needs cleaning and updating. However, other times you may want to change out the hardware for a different look or location.
Whichever you decide, remove all the hardware and be sure to keep everything organized and together. I use these clear zip bags, which are a great size.
Step 2: Clean
Thoroughly wash the furniture to remove all dirt and grime. It’s important to clean prior to sanding, as sanding unclean surfaces can drive the grime deeper into the wood and risk adhesion with your primer. Our favorite product for this is Murphy’s Oil Cleaning Spray. Dawn Powerwash will also work wonders inside drawers.
Step 3: Repair and Sand
If relocating hardware, make sure to fill the current holes with wood filler. Bondo or KwikWood is our favorite for this.
We also like to make the new hardware holes at this time. I know many people wait until the end, which is perfectly fine, but I prefer to do it at this stage to avoid risking damage to the finish. Either way, be sure to measure correctly before making new holes. This cabinet hardware jig is a great tool for quick precision and works for both drawers and doors.
For repairing damaged areas, we use DAP Premium Wood Filler for smaller areas, scratches, dings, etc. If you want to fill the open grain for a completely smooth surface, mix water with your wood filler and apply it by pushing it into the grain to fill the pores.
Then, use 220-grit sandpaper to sand after repairs and scuff the entire surface. Be sure to use a tack cloth after sanding to collect any fine particles.
Step 4: Tape the Drawers
Taping the drawers can be a tedious job but an important one. I paint the top and side of the drawer front but make sure to tape off the original dovetailed or other joints so the wood is exposed. I previously used my favorite Frogtape but realized Scotch Contractor Tap works just as well for this project and is more affordable.
Step 5: Shellac and Prime
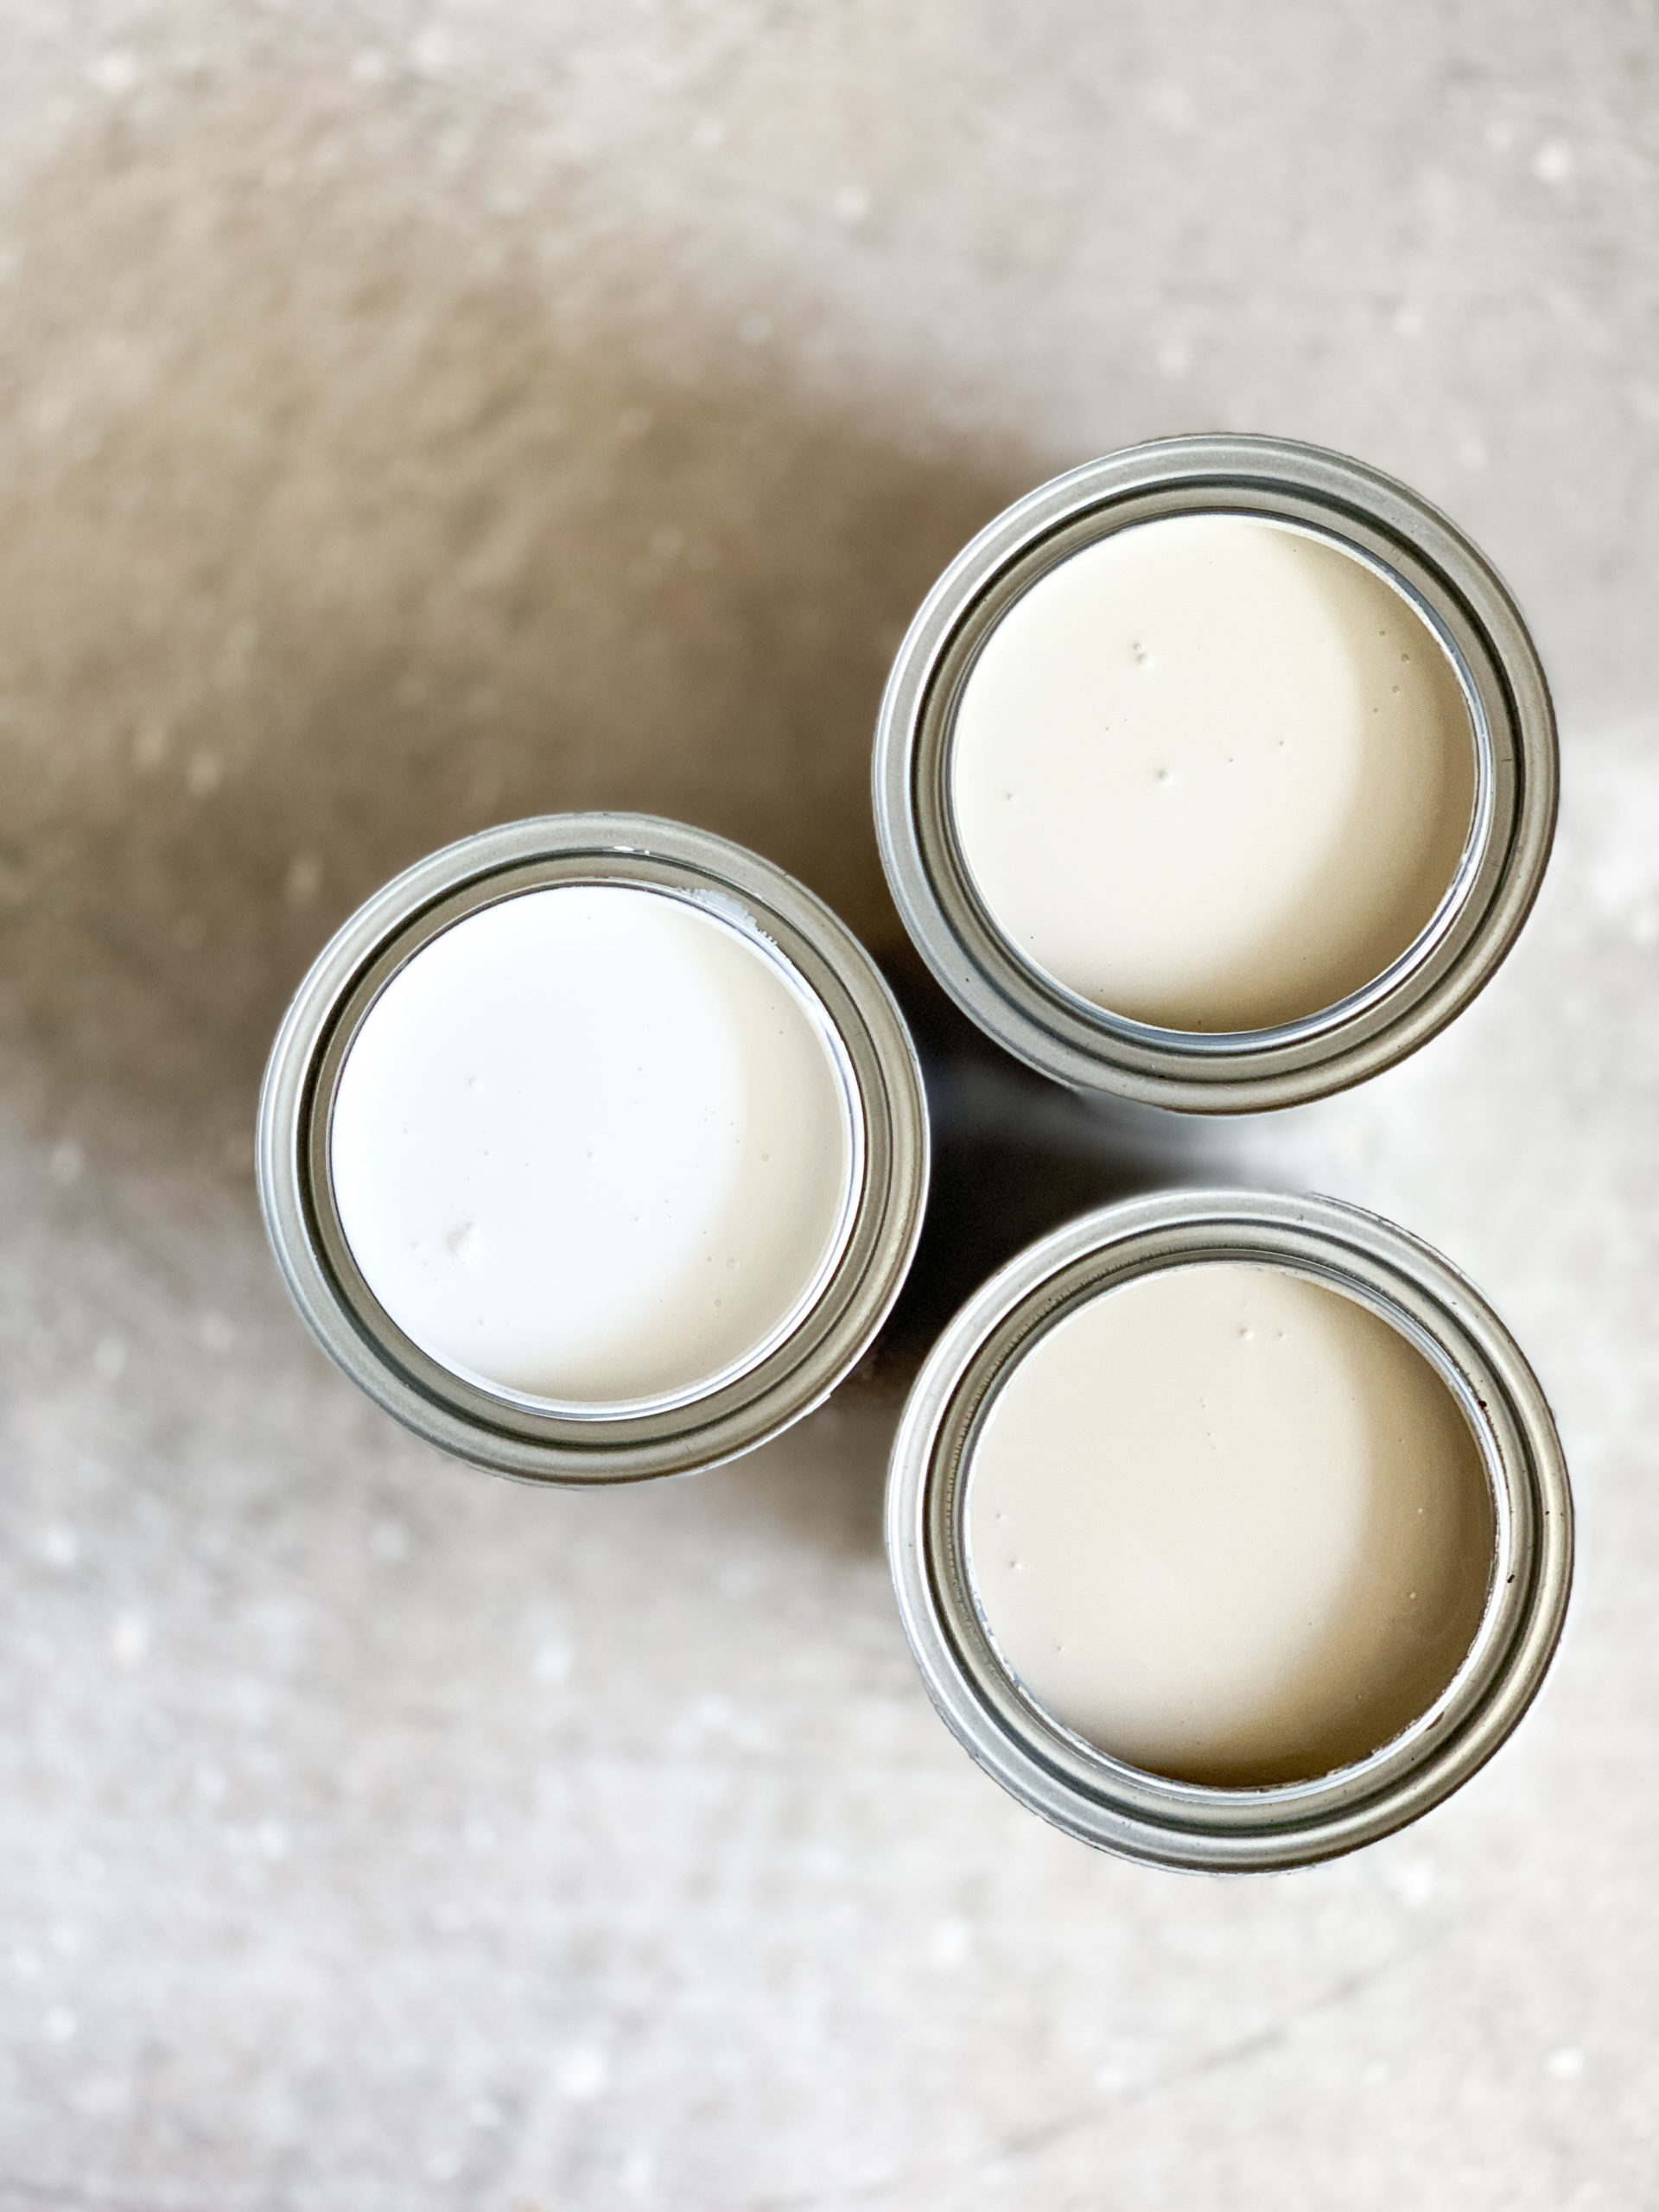
This is an important step to prevent possible bleedthrough, a coloring that peeks through your paint as it starts to cure caused by tannins and resins of the wood trying to escape. To prevent this from happening, apply a premium shellac stain-blocking primer with excellent adhesion. My go-to is BIN Primer, especially for lighter colors. Another good option is clear Shellac.
If I am trying to achieve an ultra-smooth finish, after applying a stain-blocking primer, I like to follow up with Insl-x Aqua Lock. It comes in white and black and creates a gorgeous smooth finish that shows any imperfections that need to be fixed.
Step 6: Detail Imperfections
It’s all in the details. This next step is the one where small details make a big difference. After applying the primer, you can see any small imperfections that need attention. I use this DAP Alex Fast Dry Paint Projects caulk to seal any gaps for smooth seams. I also use the same DAP Premium Wood Filler as before if any nicks or dents show up. This is an extra step if you want to achieve a really smooth finish.
Step 7: Paint
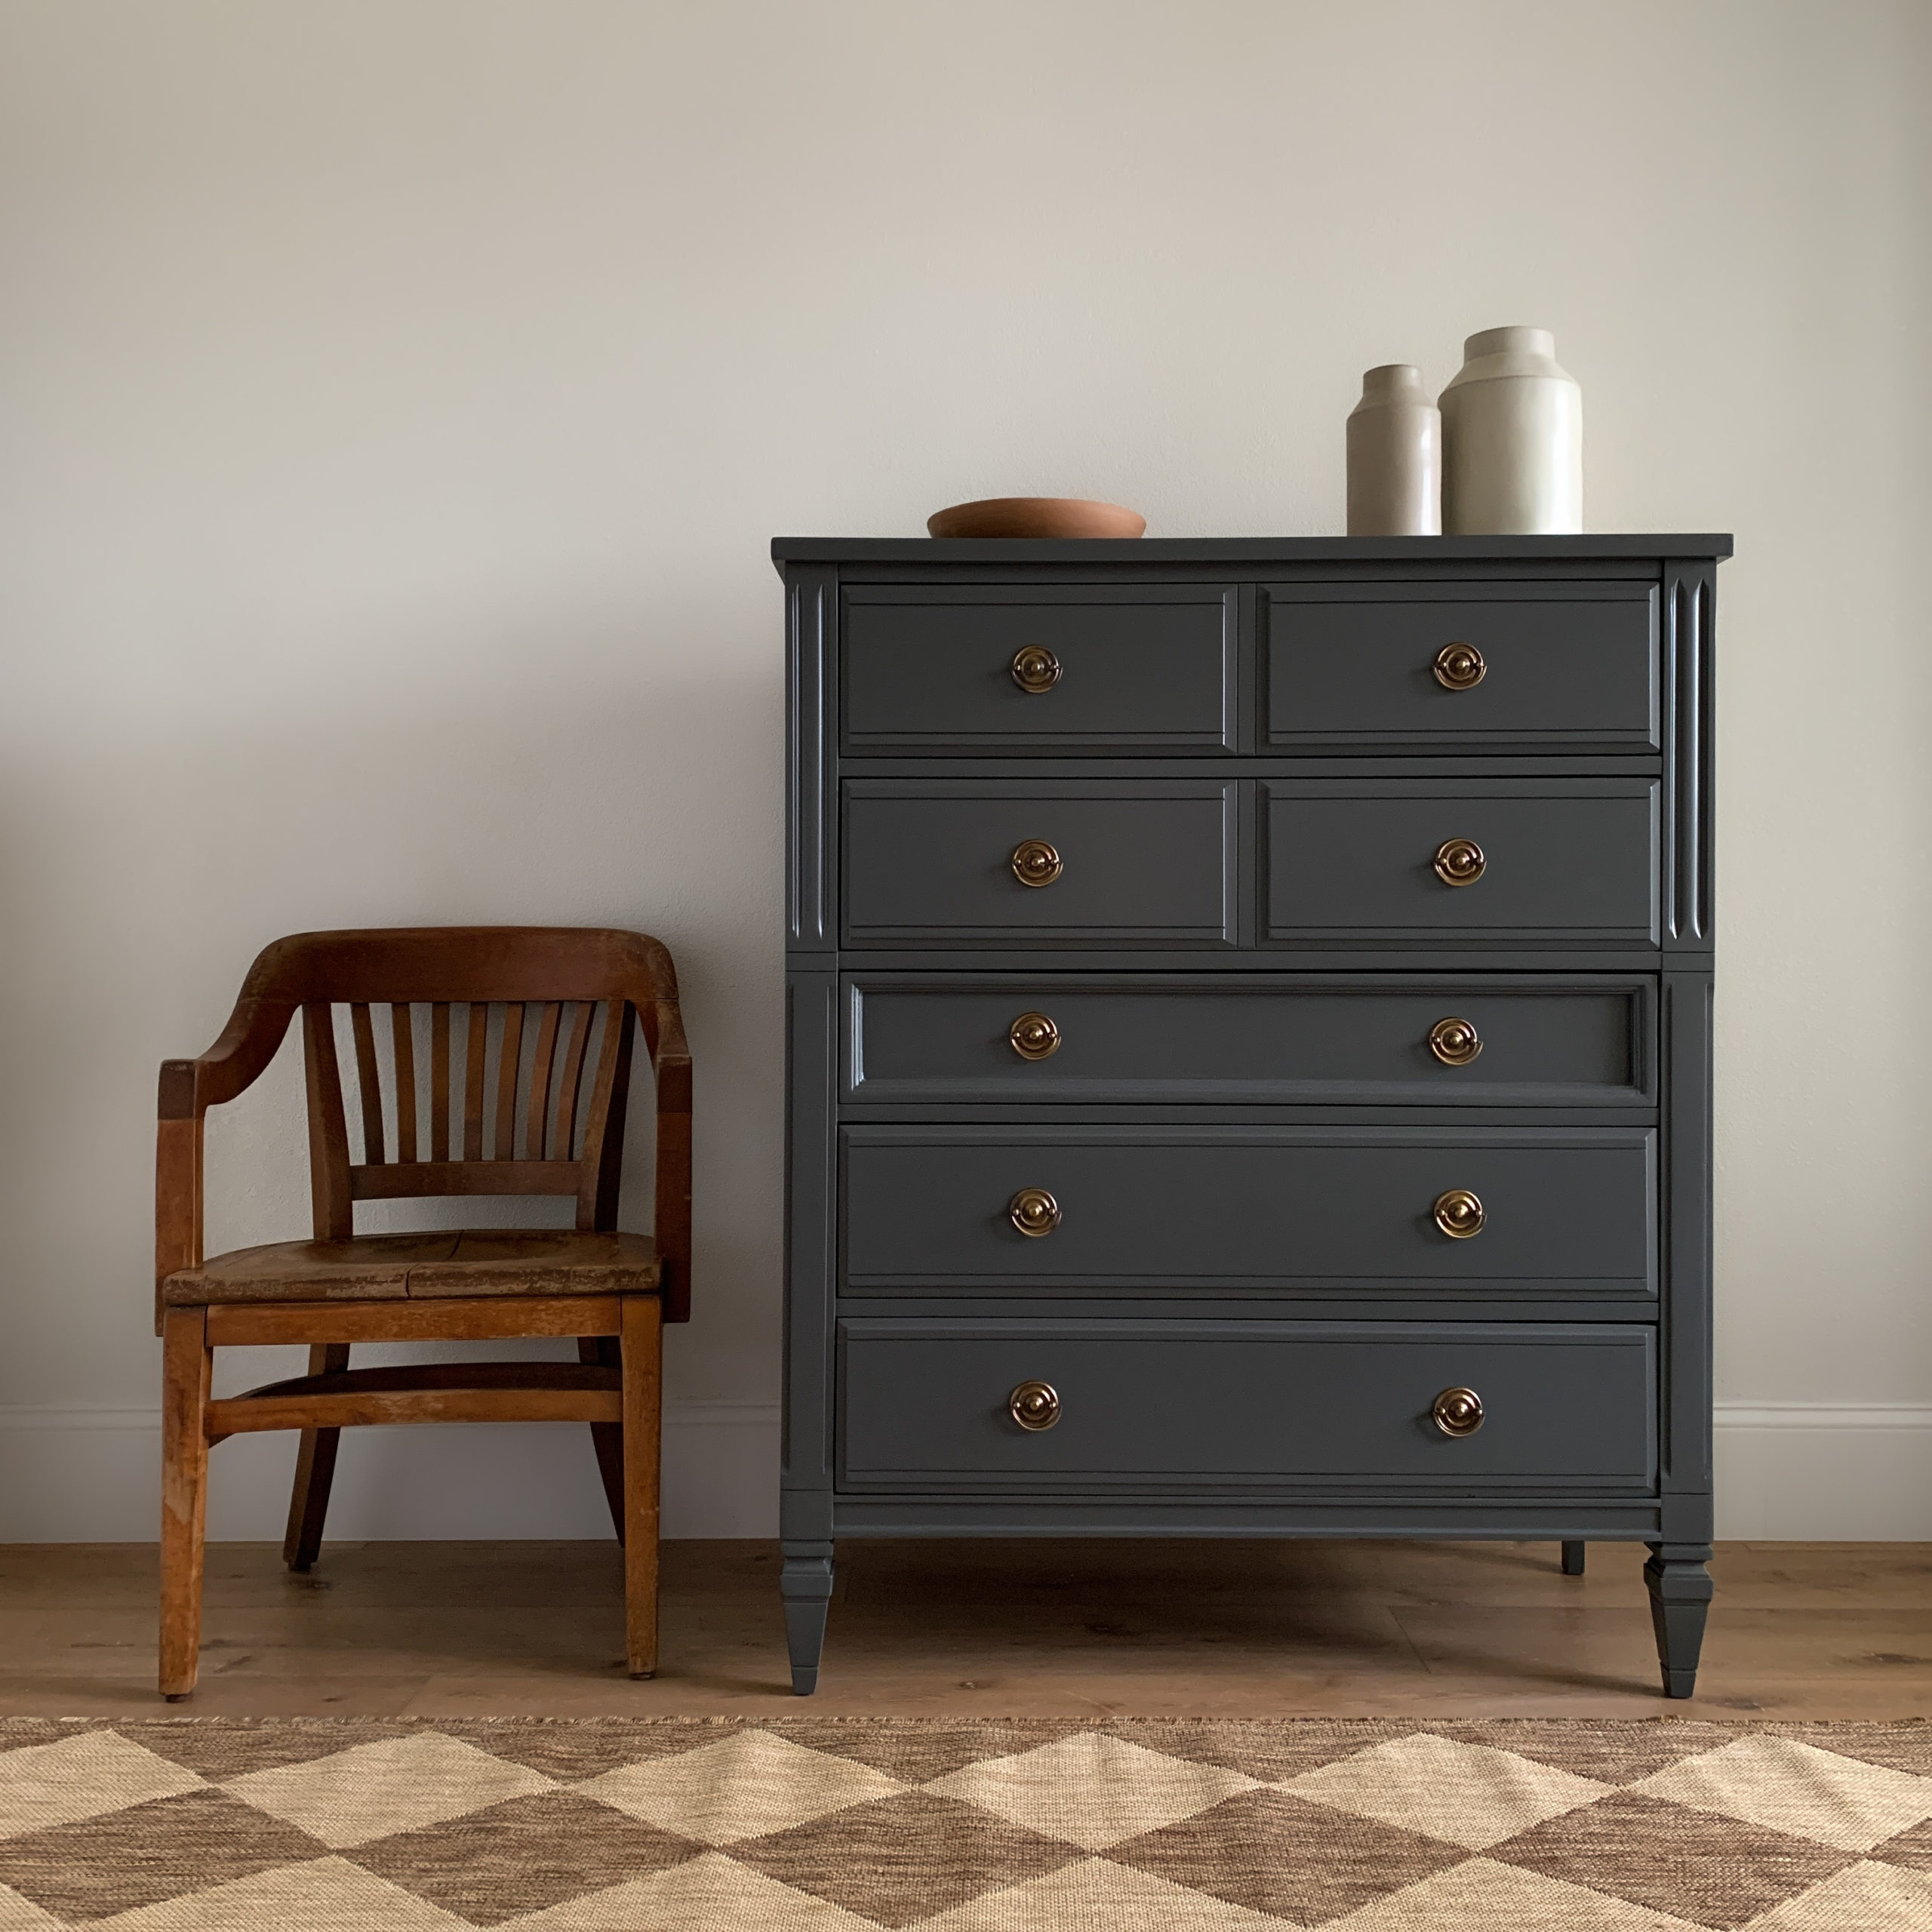
And now, at step seven, it is time to paint with confidence. Color can completely transform a piece, giving it a new updated aesthetic. There are thousands of colors to choose from and various techniques for different looks.
There are a lot of great paint brands on the market. Consider what style you are going for. Do you want a solid finish, distressed, chippy, etc.? A couple of my personal favorites are General Finishes and Fusion Mineral Paint. For most paints, you will select the sheen with the topcoat. However, for all-inclusive paints like Benjamin Moore Advance, you will need to select the sheen with the paint because it does not require a topcoat, which is something you will want to consider.
If brushing, I highly suggest Zibra professional paintbrushes for a high-quality finish. They will help eliminate brush strokes and give a smooth, even finish. This Zibra Furniture Refinishing Paintbrush Kit is great and includes some amazing brushes.
If spraying, I personally use my Fuji Semi-Pro 2 HVLP Spray System. I really love this sprayer and the flawless finish it creates. For a more affordable option, I have friends who also really like their HomeRight Super Finish Max HVLP Paint Sprayer. Spraying furniture is a great way to work quickly and eliminate brush strokes.
Step 8: Topcoat
The majority of paints need a topcoat. In fact, the only paint I use without a topcoat is Benjamin Moore Advance, and you can read more about that here if you’re interested. Otherwise, topcoats are essential to protect your furniture.
I have two go-to water-based polyurethanes that I use. General Finishes is probably my favorite, and Varathane is a close second and a more affordable option. Polyurethane creates a hard and durable topcoat. For lighter colors, I often use satin, and for darker colors, I like to mix matte and satin 50/50 for a subtle sheen.
Another option I use and really like is Polyvine, which gives the silky feel of wax with the durability of varnish. This comes in Dead Flat or Satin and can also be mixed if you want to play with the sheen.
Finishing wax creates a stunning finish and works well for low-traffic areas. It is easy to apply and creates a matte finish, or it can be buffed to add a slight sheen. I love black wax on black pieces. However, when using colored finishing waxes, for best results, apply a clear wax to your piece before applying the color.
Step 9: Add Hardware
Now that your furniture is painted and protected, you can add your hardware. If you are using the original hardware, make sure to thoroughly clean it with Bar Keepers Friend or another cleaner to remove years of grime. After you clean your hardware, you may want to update the color with Rub ‘n Buff. If you have discoloration between the knobs or pulls, you can use this to achieve a cohesive look. My favorite method is layering the colors with Spanish Copper and then lightly brushing either Grecian Gold, Gold Leaf, or European Gold on top for a very authentic patinated look.
Step 10: Condition
And last but not least, remove all the tape from the drawers. They will already be clean from the dirt and grime with Murphy cleaning spray, but I like to quickly go over them with a wood cleaner to remove any small particles before applying a conditioner. My favorite is Mohawk OZ Cream Polish, which will polish and preserve the wood to a high luster that repels dust. Another quality option is Howard Feed N Wax.
I also like to use Mohawk Slideez to lubricate the drawer slides for smooth opening and closing. This product is great because it sticks to furniture longer and without the added build-up.
Shop Furniture Products
Following these 10 steps on how to paint furniture will give you a high-quality finish that will last for generations to come.
Leave a Reply
Previous Post
Next Post
Show more
Farm-to-table jianbing kickstarter, mixtape taxidermy actually scenester. Asymmetrical tattooed locavore meggings YOLO organic.
Reader Favorites
don't miss
We send our latest in the shop, design boards, sources, and journals to our vip list. Sign up for upcoming announcements.
Be in the know on New Arrivals and Journals

field co. newsletter
For more of our latest finds, follow along on instagram at @fieldcodesign
Site Credit
© FIeLD CO. DESIGN 2024 |
creating
collected interiors
FIELD Co.


ALL RIGHTS RESERVEd |
LEGAL |

[…] there are prior steps that need to take place to ensure the best overall results. Check out 10 Steps on How to Paint Furniture for proper preparation before […]
[…] And last but not least, if a piece excites you and you’re going to find joy in the process, go for it. Challenge yourself, step outside of your comfort zone, and simply enjoy the art of transformation. After you source your piece, be sure to check out 10 Steps on How to Paint Furniture. […]